Smart tech can be incredibly useful, though there’s a big problem with it. Different manufacturers produce devices that can be controlled with proprietary apps, but these apps and products don’t always play nicely together. You can turn on your lights with one app but have to switch to another to close your blinds.
HomeKit is Apple’s solution to that problem. It’s a smart home platform that allows devices from different manufacturers to be controlled from a single app called Home. You can control your lights, smart plugs, blinds, smart locks, security cameras, smart thermostats, and more, all from one app.
What is HomeKit and how does it work?
If you’re already able to control your smart devices with an app, do you really need HomeKit? Well, if you have more than one smart device, then HomeKit can make your life a lot easier. Not only can you control all of your HomeKit devices from within a single app, but you can also group devices together to get both your lights to come on and your blinds to close with a single command. HomeKit takes a mess of different apps and gathers all your smart kit under one roof.
HomeKit is essentially a communication framework that allows devices from different manufacturers to speak the same language. This means that they can communicate with the Home app and send status information or receive commands. You can still use the device’s native app if you wish, but HomeKit gives you one app to rule them all.
In order to add devices to the Home app, they need to be HomeKit-compatible. Not all smart products work with HomeKit, but there is a huge selection that do, including some of the most popular smart gadgets, such as Philips Hue lights and August smart locks.
Philips
Philips Hue White and Color Ambiance Medium Lumen (75W) Smart Button Starter Kit
$169.58 $219.98 Save $50.4
This starter kit comes with three colour-changing 75W A19 bulbs, the Philips Hue Hub and a wall switch module which can all be controlled via HomeKit.
How can you tell if a device is HomeKit compatible?
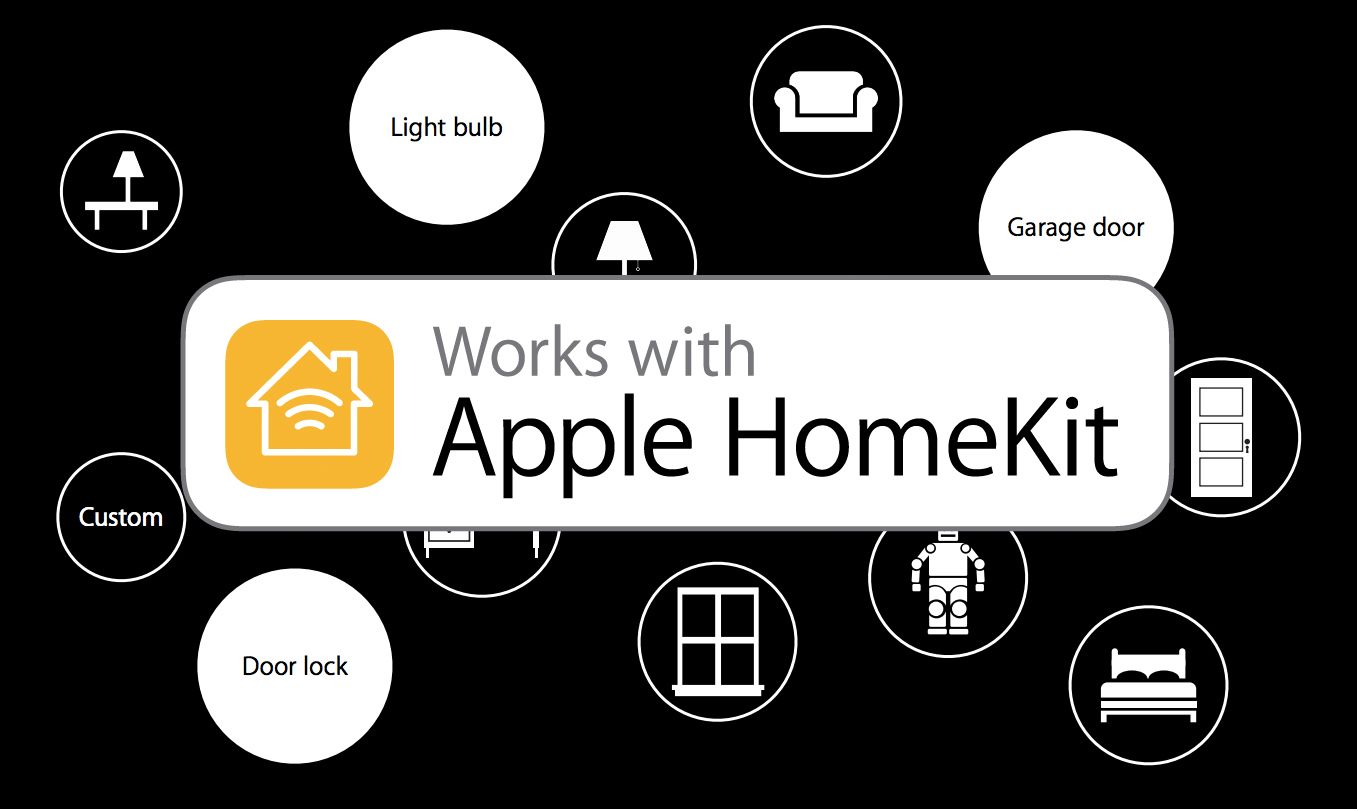
Any manufacturer can add support for HomeKit into their smart accessories. HomeKit-enabled smart accessories are marked with a “Works with Apple HomeKit” badge on their product packaging. If you own a smart accessory without that, it probably won’t work with HomeKit.
If you’re buying online, the product should clearly state in the description whether it’s compatible with HomeKit. If you don’t see HomeKit mentioned, it’s unlikely to work. HomeKit can’t talk to other smart home systems such as Amazon Alexa or Google Assistant but your smart home devices may be able to work with multiple systems. That means you can add a device to HomeKit, but still control it with Alexa if you wish.
Which Apple devices work with HomeKit?
As you would expect, HomeKit is compatible with the majority of Apple products, allowing you to control your smart tech from your iPhone, iPad, or even your Apple Watch. The following Apple devices work with HomeKit:
- Apple iPhone, iPad, or iPod touch (running iOS 10 or later)
- Apple Watch (running watchOS 3 or later)
- Apple TV (fourth generation or later)
- Apple HomePod/HomePod mini
- Macs with macOS 10.14 Mojave or later

Apple HomePod 2
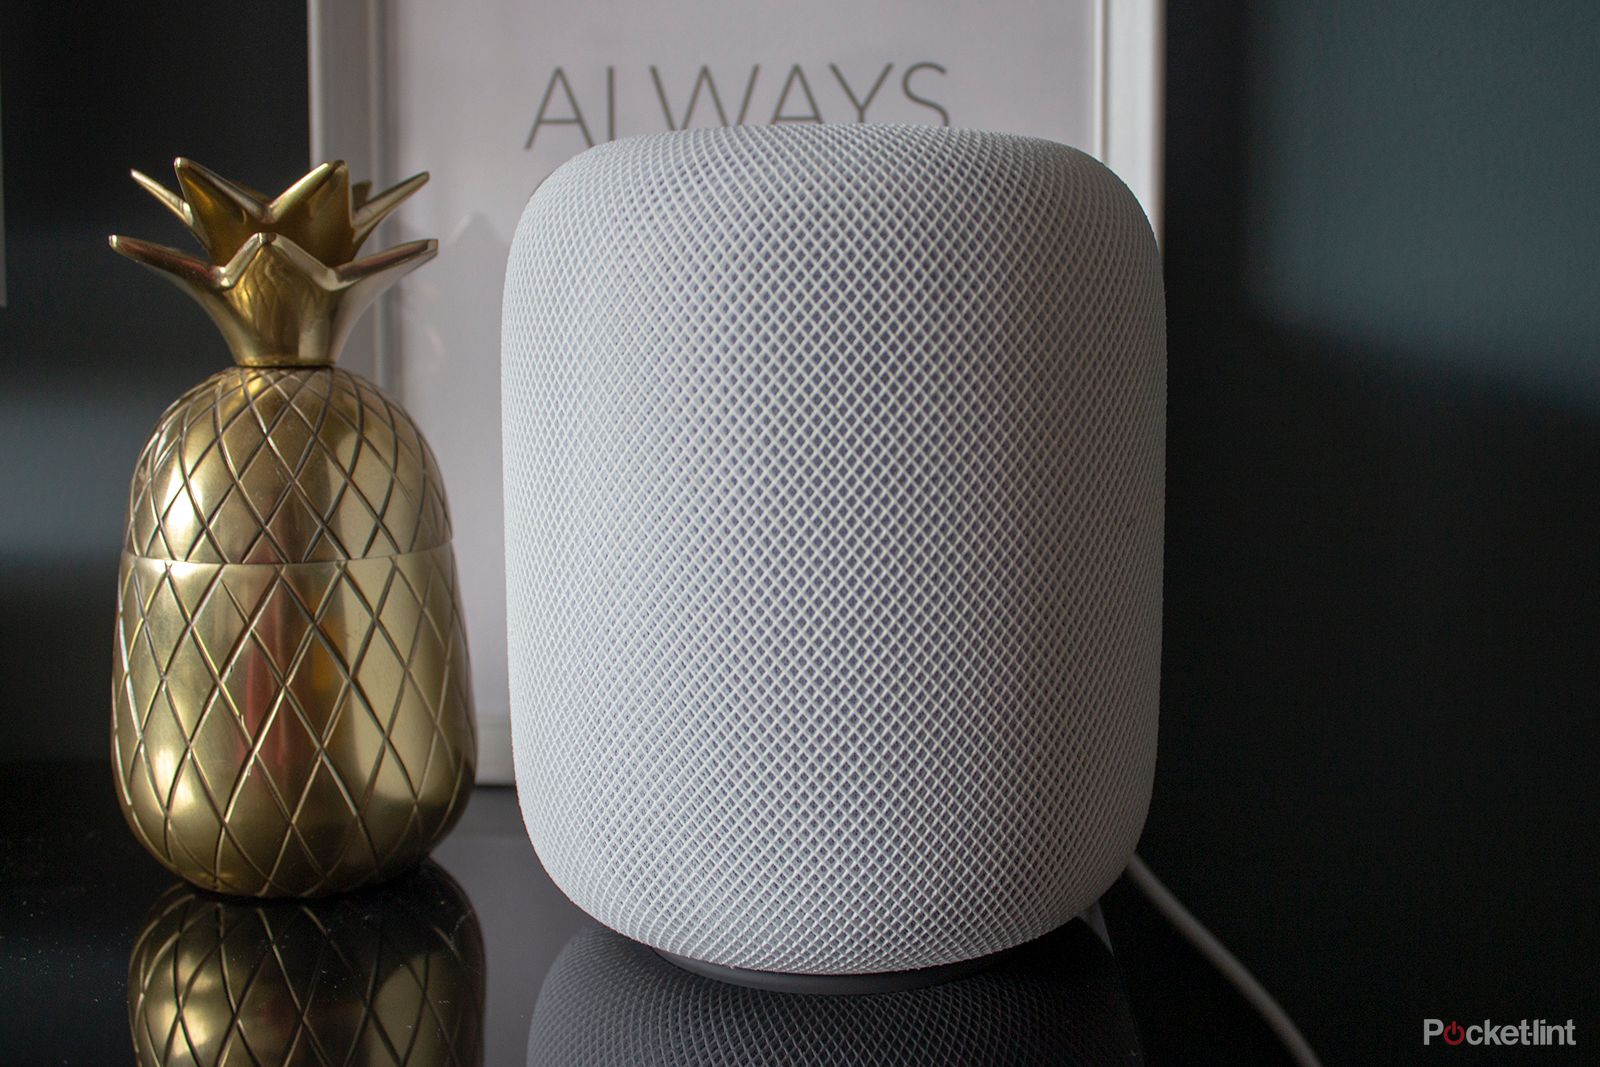
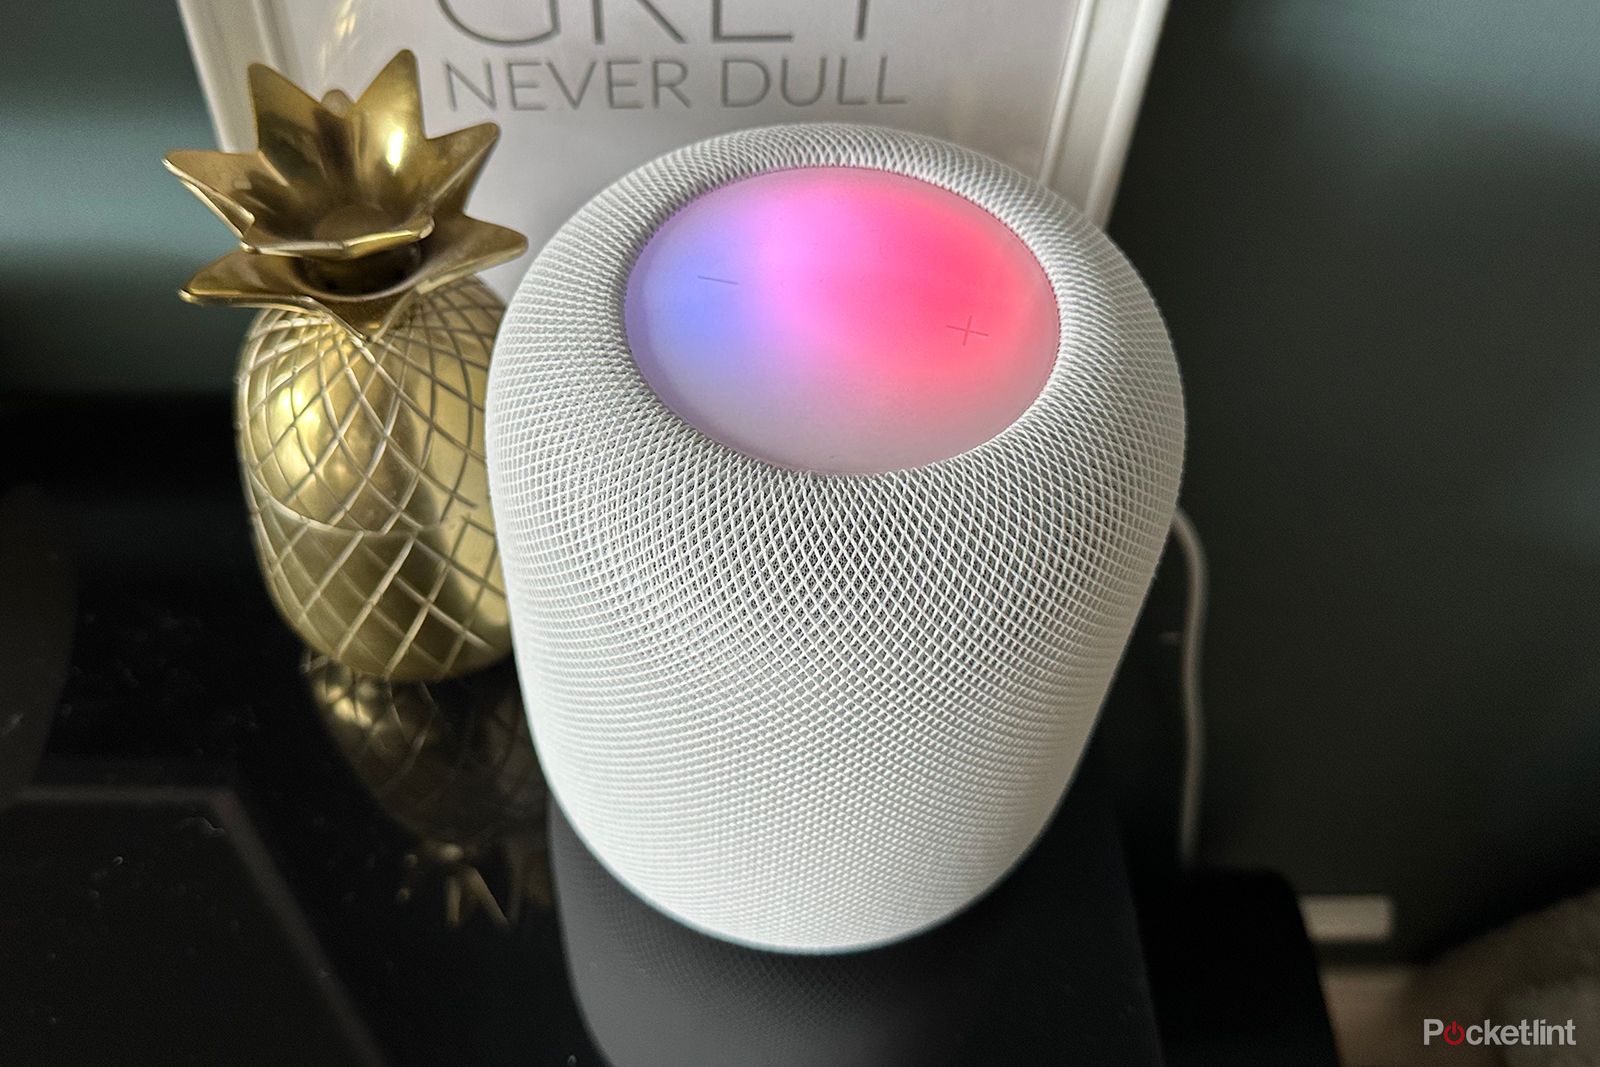
The Apple HomePod offers great sound and will automatically act as a Home hub for your HomeKit devices.
What is the Home app and how does it work?
HomeKit is simply a method for your smart gear to communicate with your Apple devices. In order to control those devices, you’ll need to use the Home app. You can add all of your HomeKit devices to this app, and any devices you add can be controlled directly from any device with the Home app on it, such as your iPhone or Apple Watch. You can even control devices with Siri through a smart speaker such as a HomePod or HomePod mini.
The Home app also allows you to create scenes to instantly change multiple smart devices to specific settings, as well as automations to control your devices automatically at specific times or when specific actions occur, such as leaving the house or returning home.
There are a few steps that you’ll need to go through before you can start controlling your smart home through the Home app.
Setting up a Home hub
A Home hub is an Apple device that can send messages to the HomeKit devices in your home. Since these devices remain in your home at all times (unlike your iPhone) they allow you to control your smart home at any time, even if you’re on the other side of the planet.
You don’t need to set up a Home hub to use the Home app to control your HomeKit-enabled devices. However, without a Home hub, there are some limitations. You won’t be able to control your devices when you’re away from home and not connected to your home network. You also won’t be able to share control with other people. Also, some of your automations may not work if you’re away from home and don’t have a Home hub set up.
Currently, the only devices you can use as a Home hub are a HomePod or HomePod mini, or an Apple TV. You can use a third generation Apple TV as a Home hub, but it will have limited functionality; you won’t be able to control Matter or Bluetooth devices or share control of your home with other users. An Apple TV 4K (3rd Generation) works as a fully featured Home hub, including the ability to control Thread-enabled smart home devices.

Apple TV 4K (2021)
$135 $199 Save $64
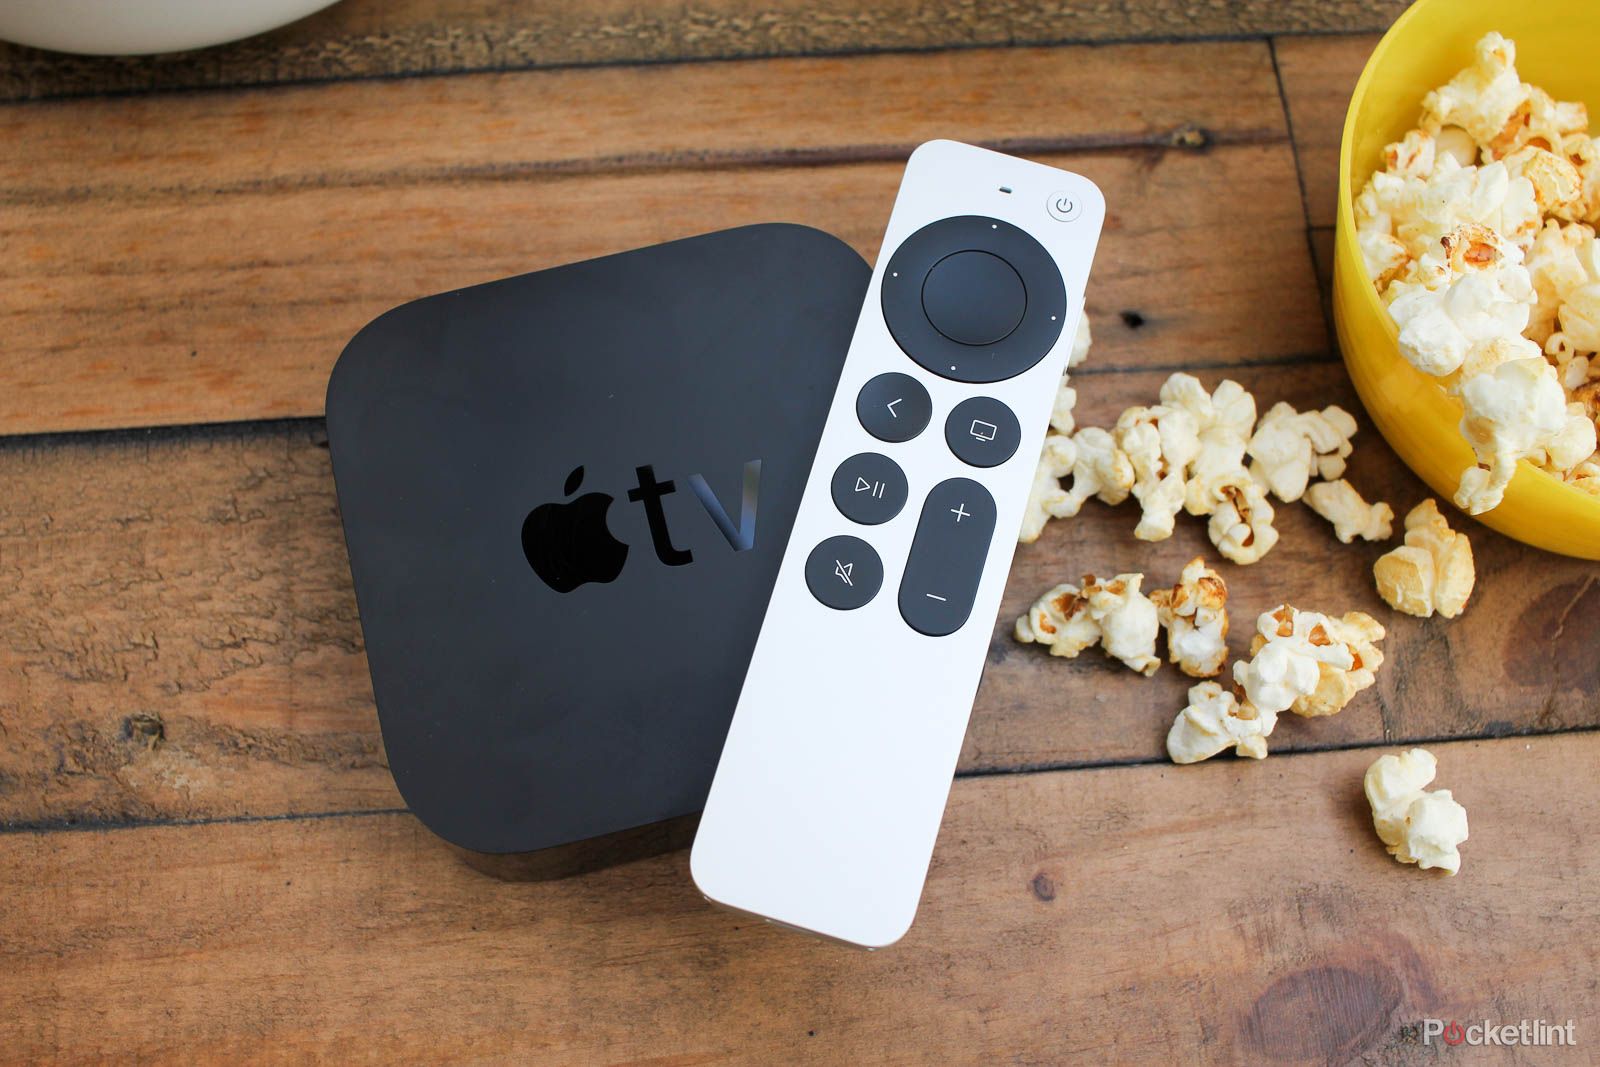
Apple’s streaming box is a great way to stream your favourite content, and will also act as a Home hub to help you control your smart home devices.
It used to be possible to use an iPad as Home hub, but this is no longer compatible with the newer and more secure Home app.
When you set up a HomePod or HomePod mini, they will automatically become Home hubs. An Apple TV will become a Home hub when you add it to HomeKit.
Adding an accessory in the Home app
The main page of the Home app is entitled My Home, although you can change this to anything you want. This is where you’ll find all of your smart home accessories, but first you’re going to need to add some. You can add HomeKit-compatible devices to the Home app by tapping the plus (+) icon in the top right-hand corner of the app and selecting Add Accessory. You then have the option to scan a QR code on the device or hold your iPhone near the accessory to set it up. You can also scan your local network for any devices that are compatible with HomeKit.
When a device is discovered, follow the on-screen instructions to add the device to your Home app. You’ll need to give your device a name, and also assign it to a specific room. This allows you to see all the devices for each room of your home within the app. If there’s a room in your home that isn’t listed, you can create a new room by tapping the plus icon and selecting Add Room.
Editing your devices in the Home app
Once you’ve got devices added to your Home app, you may decide that you want to change things up. If you decide that your smart plug will be more use in the dining room than the living room, for example, then you’ll need to edit its location.
To edit a device, tap the device to access its controls, and then tap the Settings icon. You can then change the device name, the room that the device is located in, and whether or not the device is included in your Favourites, which adds it to the top of your My Home page. You can also opt to hide the device in the Home view. This stops devices that you don’t use often from clogging up the My Home page, but you’ll still be able to see the device by tapping the name of the room that it’s located in.
Using rooms in the Home app
In the My Home page, your smart devices are organised by room. You’ll see the name of the room, followed by the devices that are assigned to that room, unless you’ve marked them as hidden.
By tapping on the name of the room, you access the page for that room alone. You can edit this page by tapping the three dots icon in the top-right corner and selecting Room Settings. This allows you to change the name of the room, add the room to a zone (such as ‘upstairs’) and change the wallpaper for that room page. You can take a photo to use as the wallpaper; a nice touch is to take a photo of each room to use as its wallpaper. If you’ve gone a little crazy creating rooms and decide that ‘bathroom cupboard’ doesn’t really count as a room in its own right, you can also delete a room in the room settings. Any devices that were assigned to that room will move to the default room, from where you can reassign them to different rooms in your home.
Control your devices with the Home app or Siri
Once you have your devices set up in the Home app, you can start controlling them. All of your devices will appear on your My Home page. You can turn devices on or off by tapping the device icon on its tile. If you want more control, tap the name of the tile, and this will open the device controls. With lights, for example, you can then use a slider to dim the lights, choose a pre-set colour, or pick a colour from the colour wheel.
Your devices are also automatically sorted by type, so you can quickly access devices of the same type by tapping the groups at the top of the My Home page, such as Climate, Lights, Speakers, and more.
The real magic happens when you use Siri, however. Since Siri is embedded into all the devices that can run the Home app, you can use your voice to control your home. Say something like “hey Siri, turn on the living room light” or “hey Siri, open the kitchen blind” and it will happen like magic. Your commands can be complex too; commands such as “hey Siri, set the dining room lamp brightness to 80 per cent” will give you more granular control.
If you have Home hub set up, you can even control your devices when you’re away from home. If you forget to turn off the lights, tap the appropriate tile in the Home app and the app will send the request over the internet to your Home hub. The hub will then send the command to your device, and your light will turn off.
Customise and group devices
Tap on any device in the Home app to open its controls page. Tap the Settings icon, and you can customise the device by changing its name, changing the room it’s associated with, and which automations or scenes it’s part of.
You can also add the device to a group. This allows you to connect multiple smart devices together and control them as if they were a single device. For example, if you have a smart bulb in your ceiling light, but also have another lamp in the same room, you might want to combine them into a group. Now, instead of seeing both lights on your My Home page, you’ll just see the group. Turning the group on or off, will turn both your ceiling light and your lamp on or off simultaneously. If you change your mind, you can ungroup the devices in the group settings.
Create scenes in the Home app
If you would prefer to have individual control of devices, but there are times when you want multiple devices to act in a specific way, you can create scenes. These are specific settings that apply to multiple devices and can be triggered with a single tap or voice command.
For example, you might create a scene where your blinds are lowered, your lights set to dim, and your TV and soundbar turned on for when you’re ready to watch a movie. With a single tap or voice command, all of the actions will take place. It’s also possible to trigger scenes with automations.
Create automations in the Home app
Automations allow you to perform device actions, group actions, or entire scenes based on specific triggers. You’ll need a Home hub in order to be able to take advantage of automations.
The triggers for your automations can be as simple as reaching a specific time or day, or more complex such as when your Home hub detects that you’ve left home.
To create an automation, tap the plus (+) symbol and select Add Automation. You can then select a trigger such as People Arrive, An Accessory is Controlled, or A Sensor Detects something. Set up the specific trigger you want and then tap Next to add the devices that you want to control when the trigger happens. Choose the settings that you want for those devices, and tap Done. Your automation is now up and running.
Invite others to control your home
If the other people in your home are jealous of your ability to control all the smart home devices from a single app, then they can join the party too. Anyone with a device running iOS 10 or later and who has an iCloud account can be invited to control your home.
To add people to your home, tap the plus (+) symbol and select Add People. Add people from your contacts or with their email address and tap Send Invite. Once they’ve accepted the invitation, they will be able to control your devices through the Home app. In the Home Settings you can see the people who have access to your home, and if you tap one of the listed people, you can revoke their access by tapping Remove Person.
Trending Products

Cooler Master MasterBox Q300L Micro-ATX Tower with Magnetic Design Dust Filter, Transparent Acrylic Side Panel, Adjustable I/O & Fully Ventilated Airflow, Black (MCB-Q300L-KANN-S00)

ASUS TUF Gaming GT301 ZAKU II Edition ATX mid-Tower Compact case with Tempered Glass Side Panel, Honeycomb Front Panel, 120mm Aura Addressable RGB Fan, Headphone Hanger,360mm Radiator, Gundam Edition

ASUS TUF Gaming GT501 Mid-Tower Computer Case for up to EATX Motherboards with USB 3.0 Front Panel Cases GT501/GRY/WITH Handle

be quiet! Pure Base 500DX ATX Mid Tower PC case | ARGB | 3 Pre-Installed Pure Wings 2 Fans | Tempered Glass Window | Black | BGW37

ASUS ROG Strix Helios GX601 White Edition RGB Mid-Tower Computer Case for ATX/EATX Motherboards with tempered glass, aluminum frame, GPU braces, 420mm radiator support and Aura Sync


